This guide explains how to select a receipt printer in the POS365 app. Use it to make sure receipts print from the correct printer and that the cash drawer setting is correct.
Step 1:
This section shows how to open the printer settings, select the correct receipt printer, review the printer information, test the printer and save the setup.
For more information, see here:
Select receipt printer
Step 1:
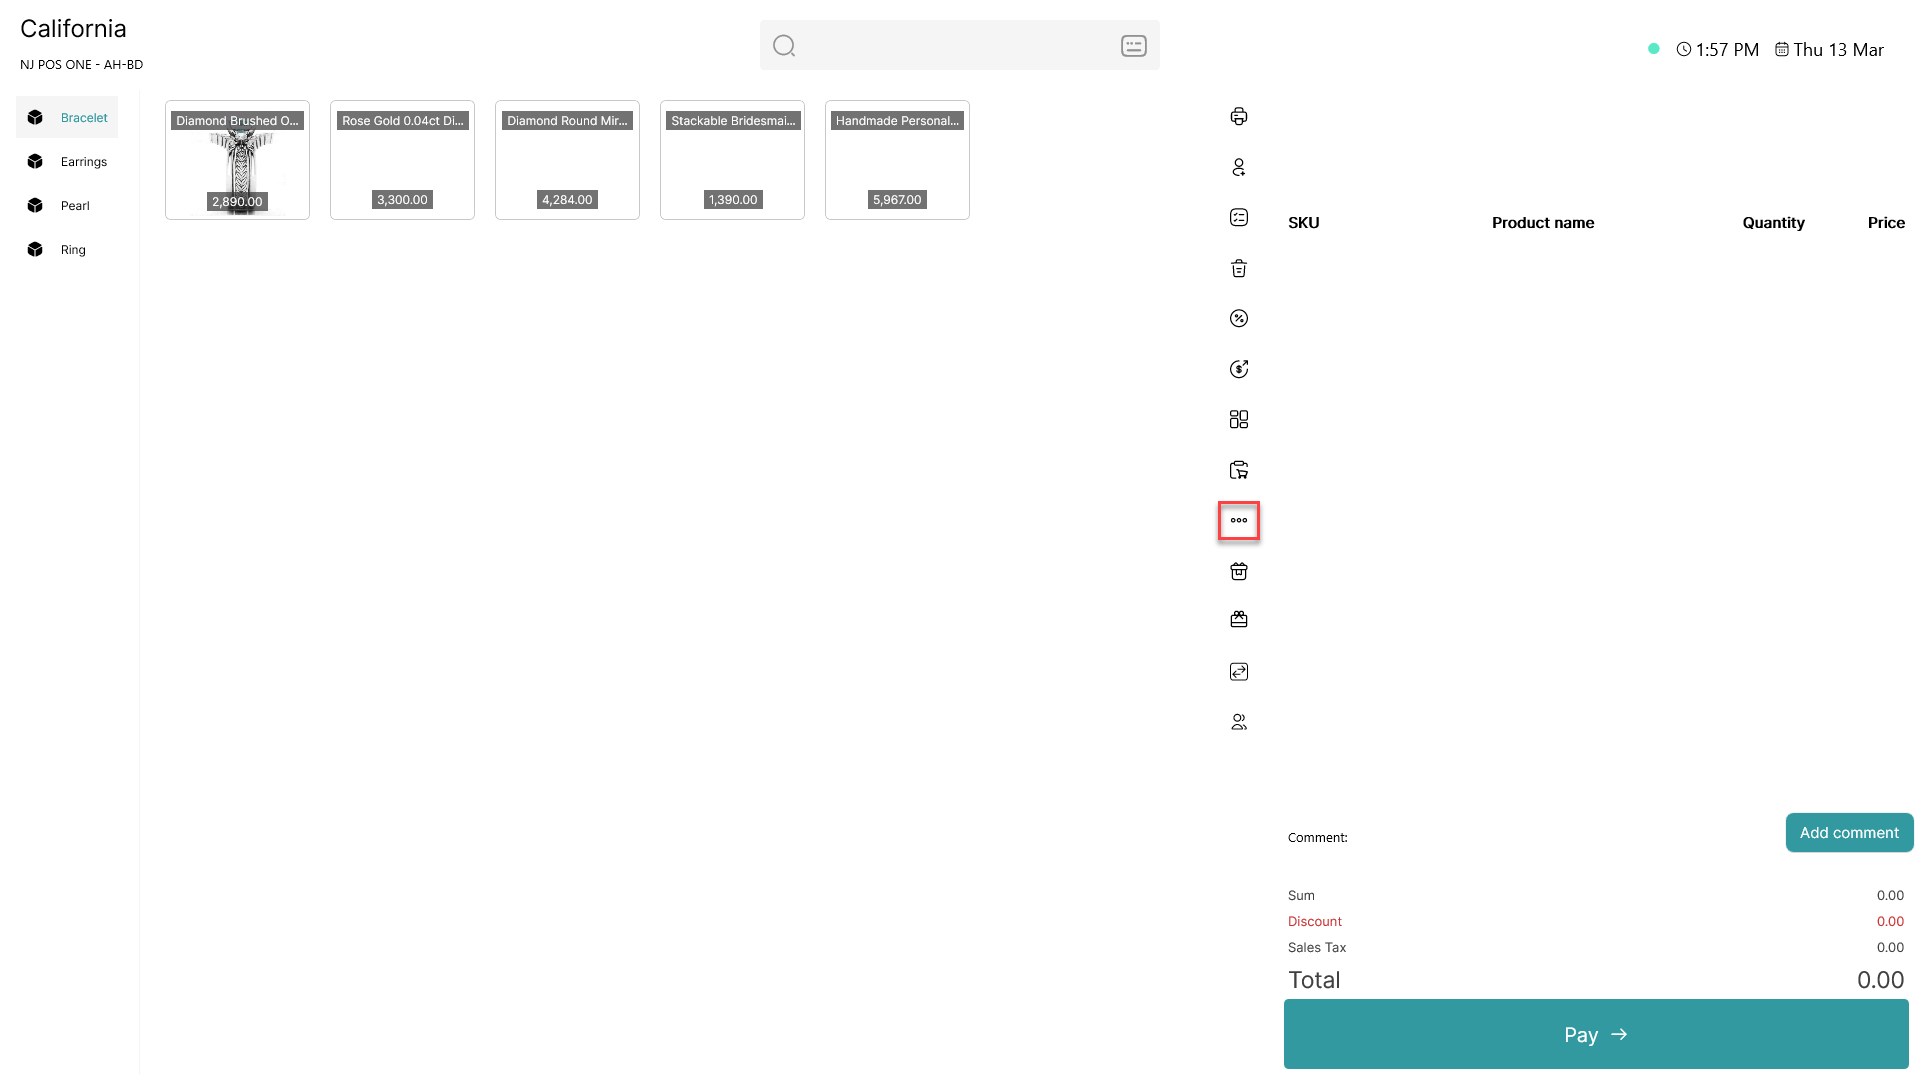
1) Click on the three dots button.
2) This opens more options in the POS365 app.
Step 2:
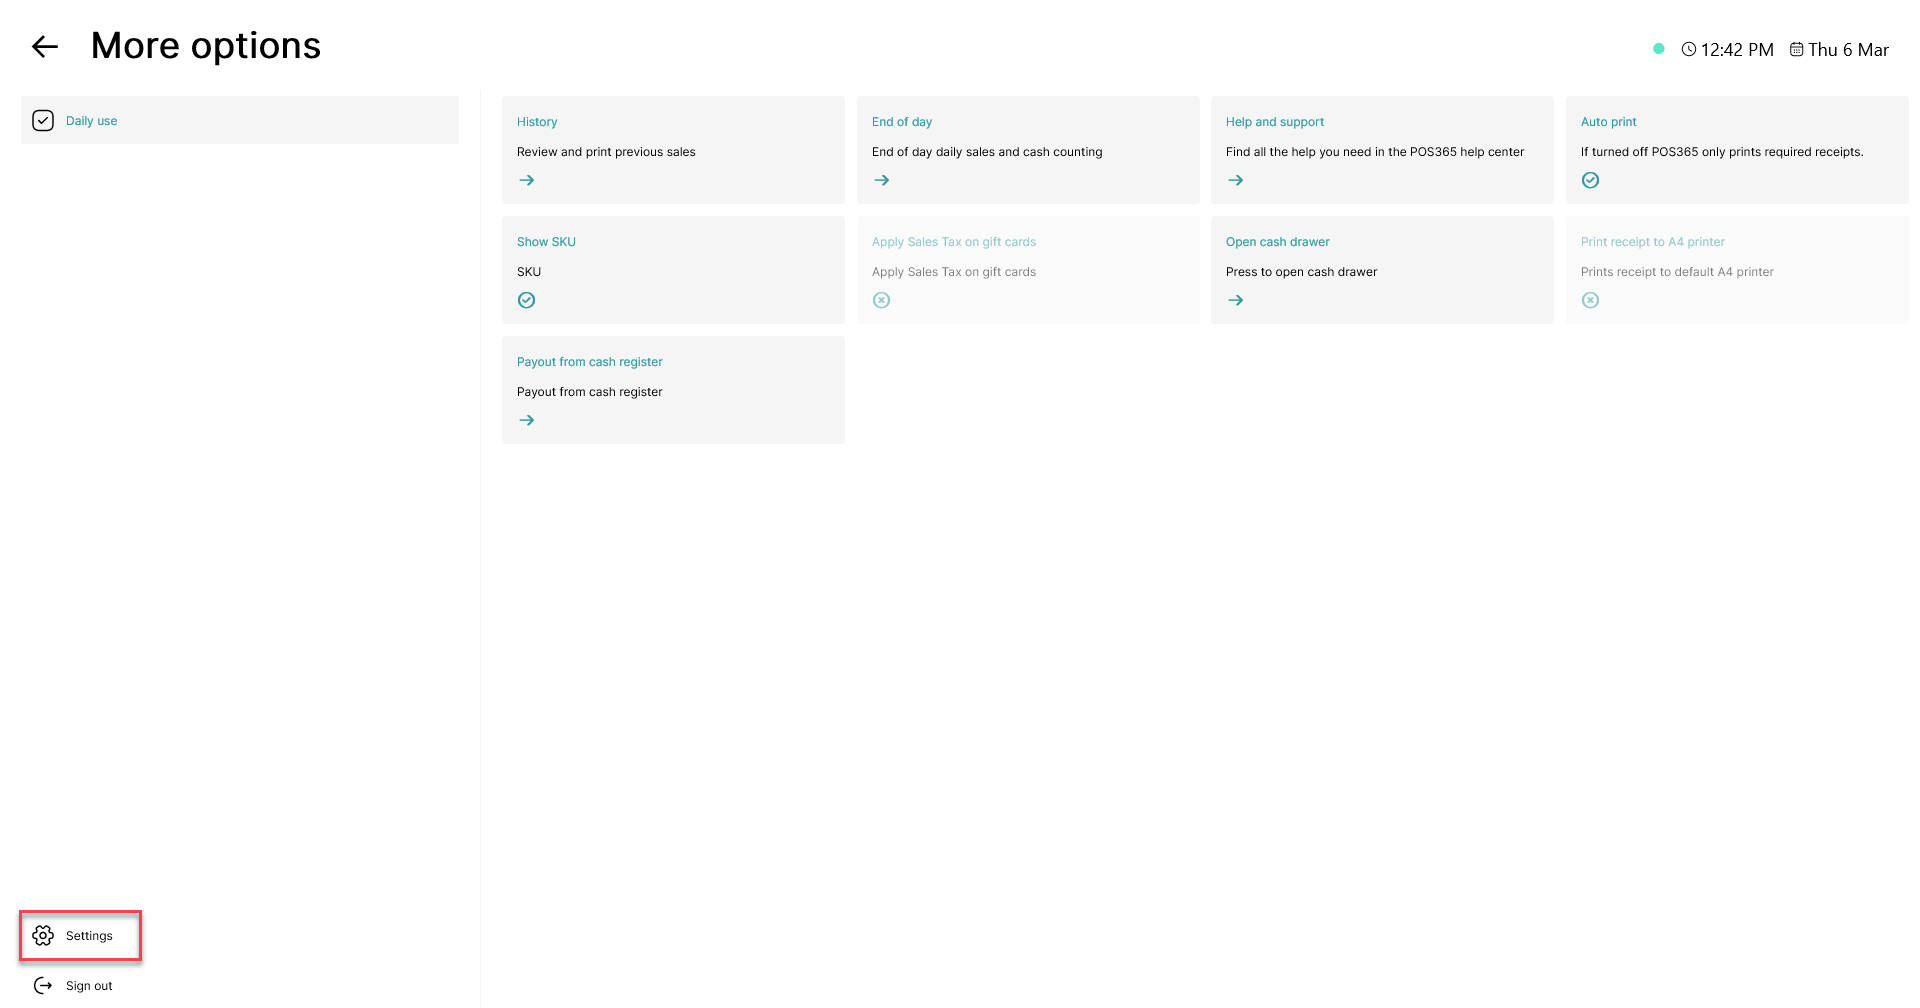
1) Click on 'Settings' in the bottom left corner.
Step 3:
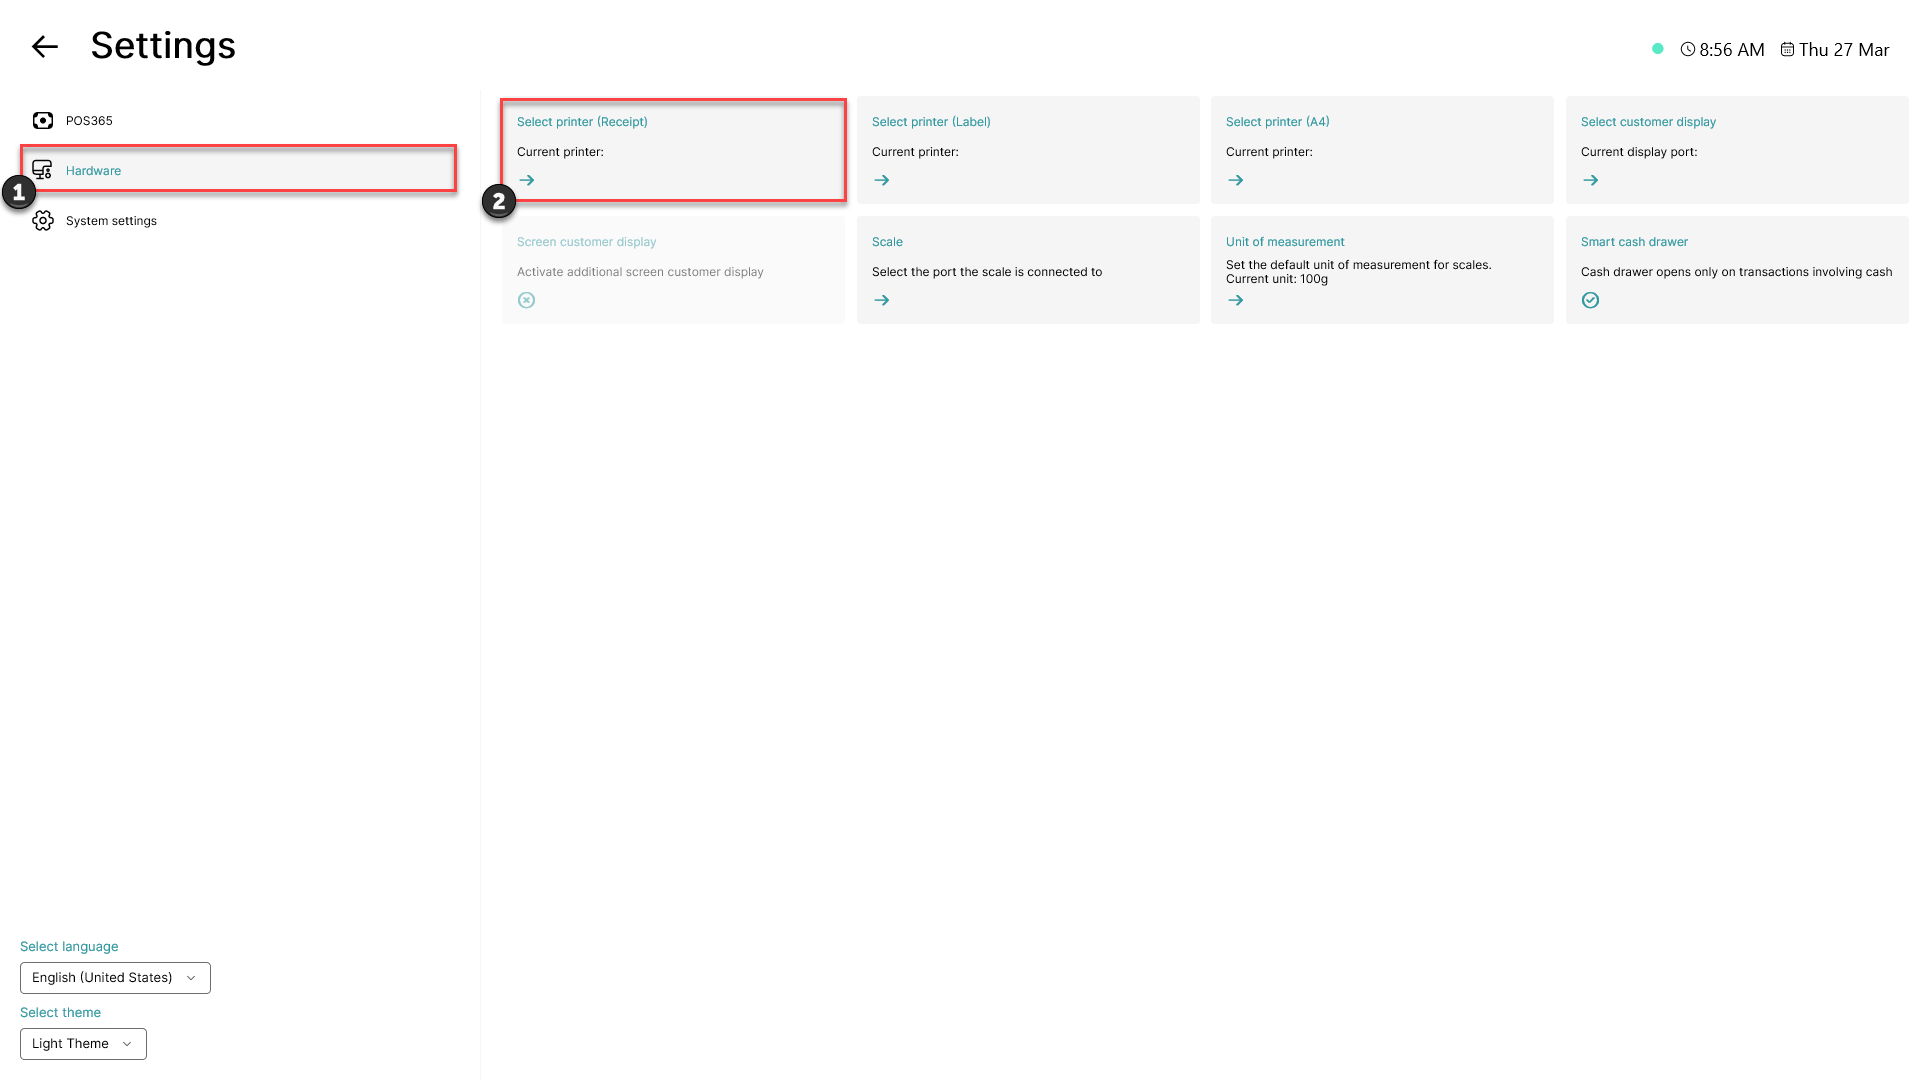
1) Click on 'Hardware'.
2) Click on 'Select printer (Receipt)'.
Step 4:

1) Open the 'Select printer' dropdown.
2) Select the printer you want to use for receipts.
3) Review the printer information shown under 'Information'.
4) Use 'Does the printer have a cash drawer connected?' to choose whether a cash drawer is connected to the printer.
5) Click on 'Test print' to confirm that the printer works
6) Click on 'Ok' to save the selected printer.
Step 5:
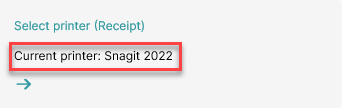
1) Check that the selected printer is now shown on 'Select printer (Receipt)'.