This guide explains how to set up the layout of receipts used in the POS365 app. The configuration is location based, meaning that the layout of the receipt can be edited between different locations. Note that the setup must be made for each location in use.
Step 1:
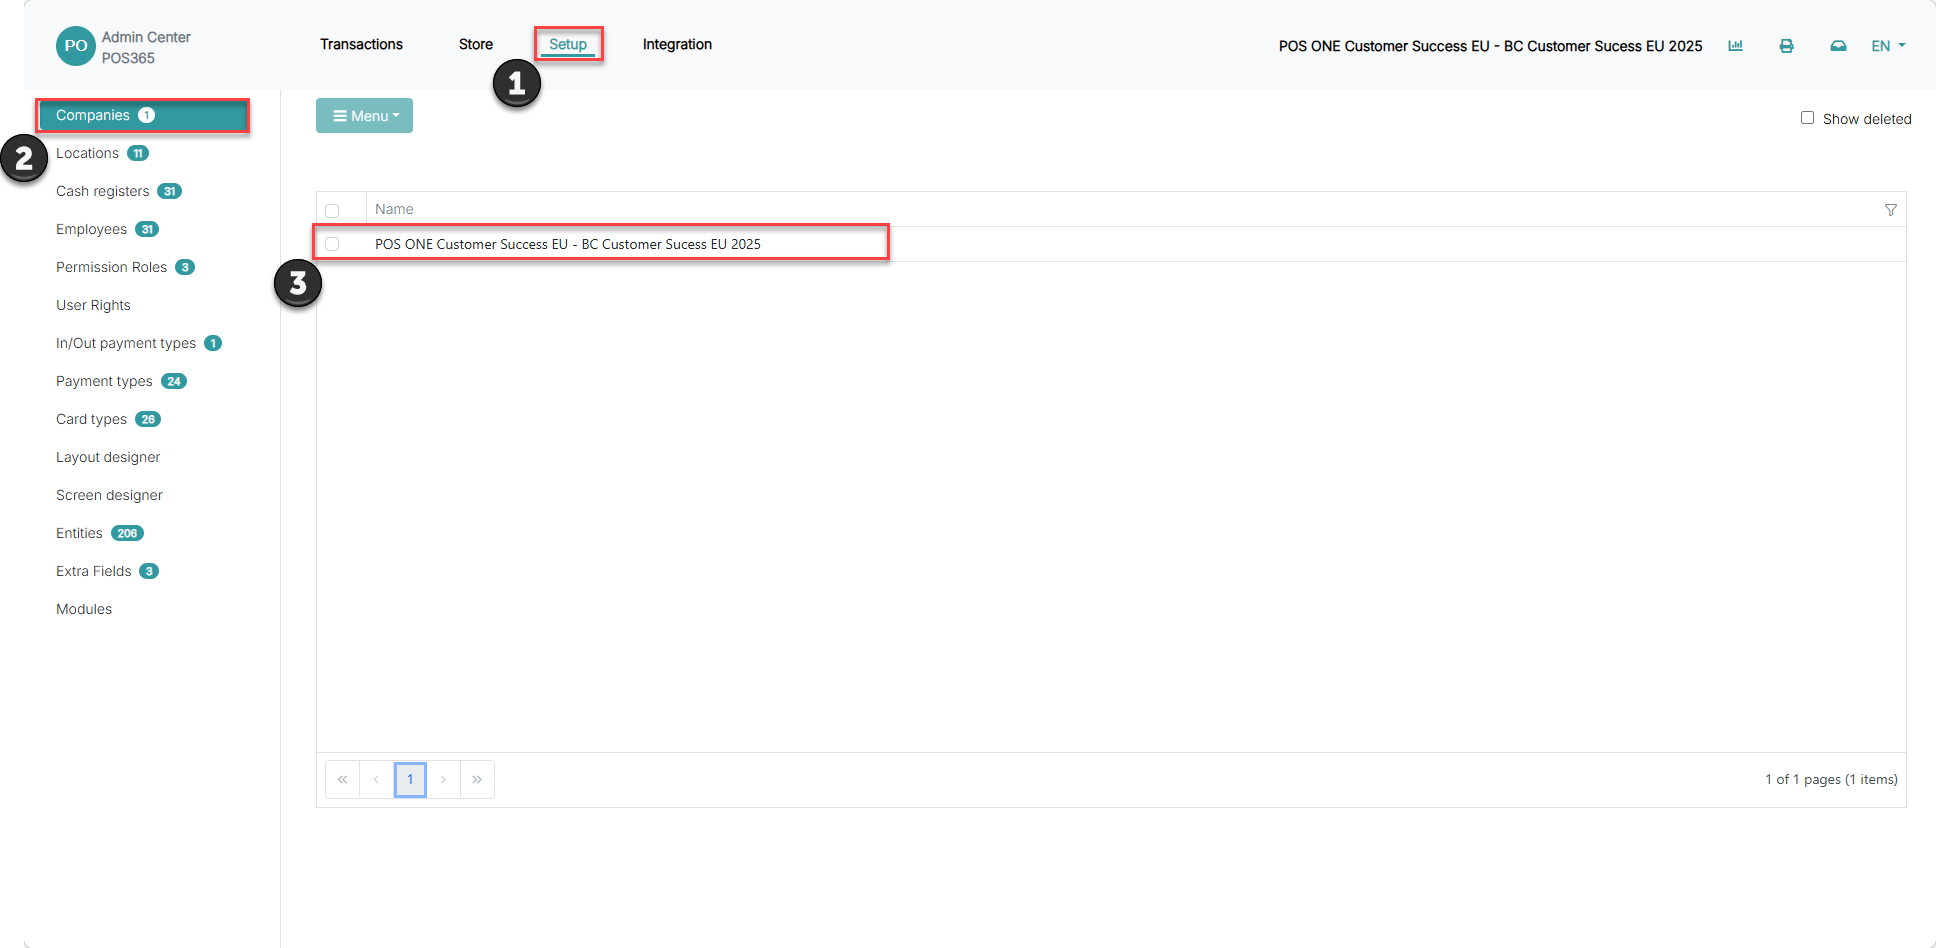
1) Click on 'Setup'
2) Go to 'Companies'
3) Choose your company
Step 2:

1) Navigate to 'Files'
2) Click on 'Pick file'
3) Click 'Browse' or drag and drop the files you want to use for the receipt
Step 3:
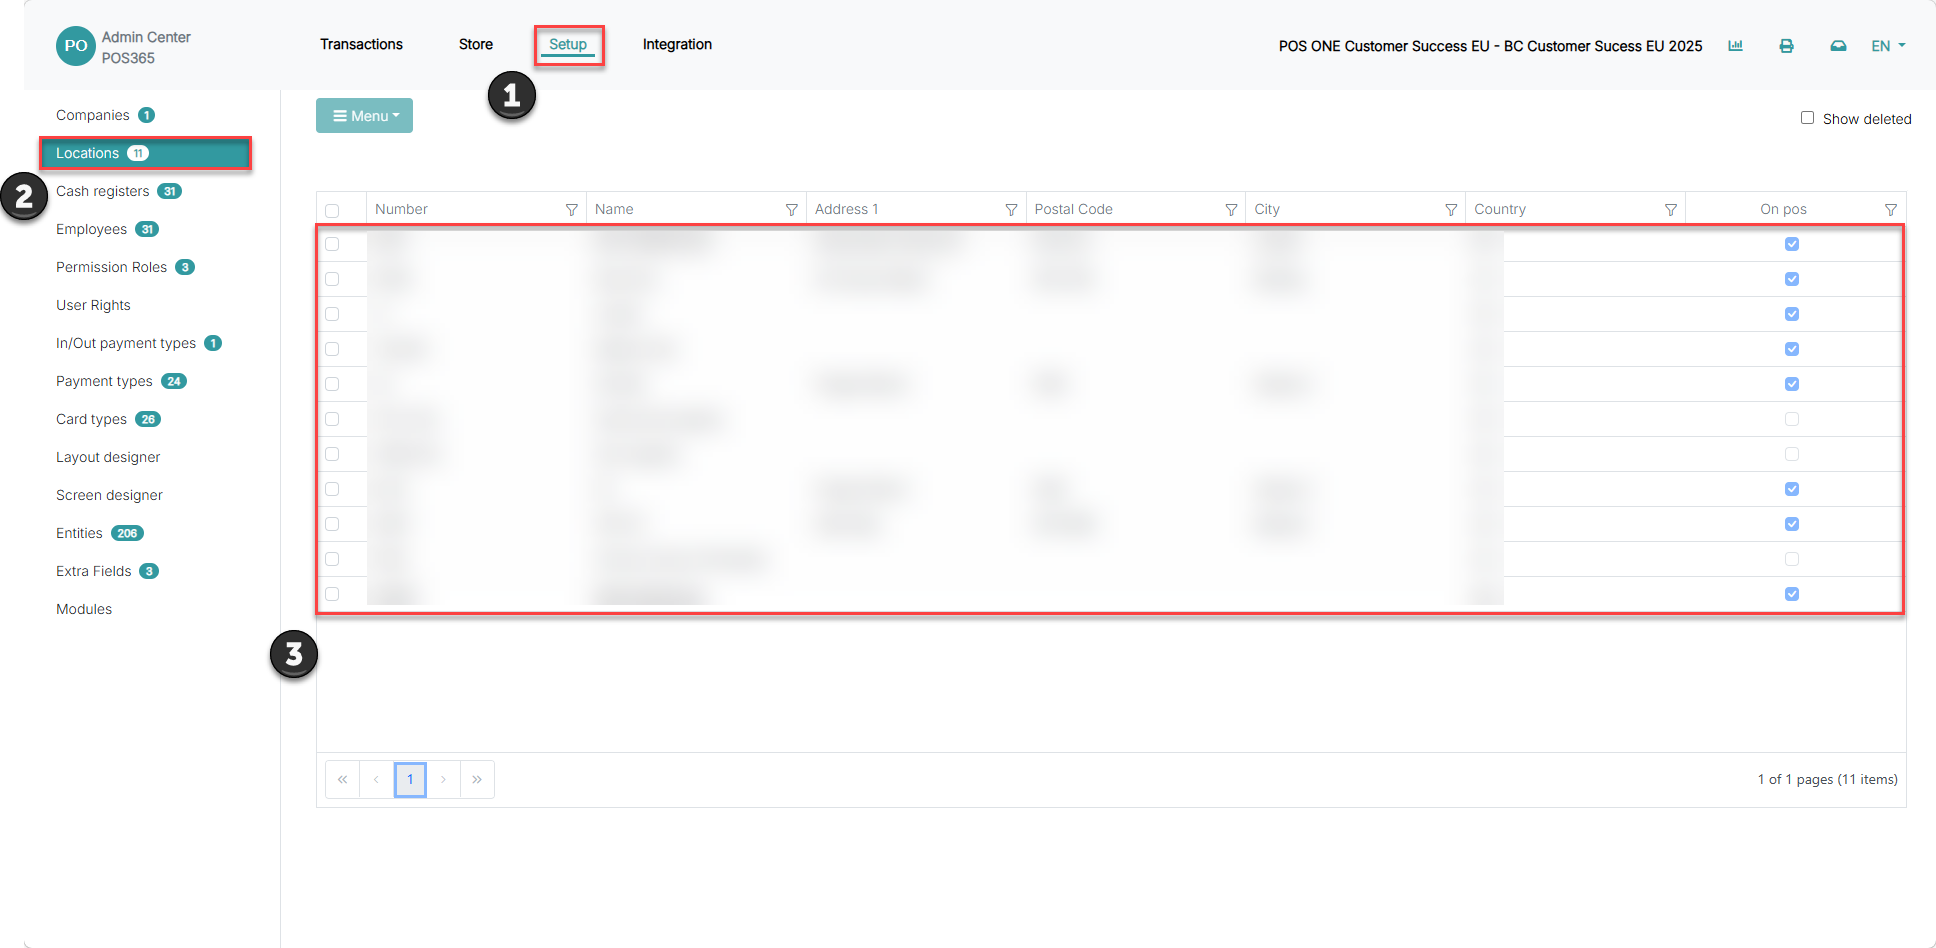
1) Go to 'Setup'
2) Click on 'Locations'
3) Choose the location
Step 4:

1) Click on "Menu"
2) Click on settings
Step 5:

1) Fill in the relevant information for your receipt layout
2) Click 'OK'
Print header image: This will usually be your company logo displayed at the top of the receipt
Print header text: This would typically be your company information, placed just above the order lines and below the header image If a logo is present
Print footer image: Optional for adding a logo/image at the bottom of the receipt
Print footer text: Optional for adding a default ending note on your receipts